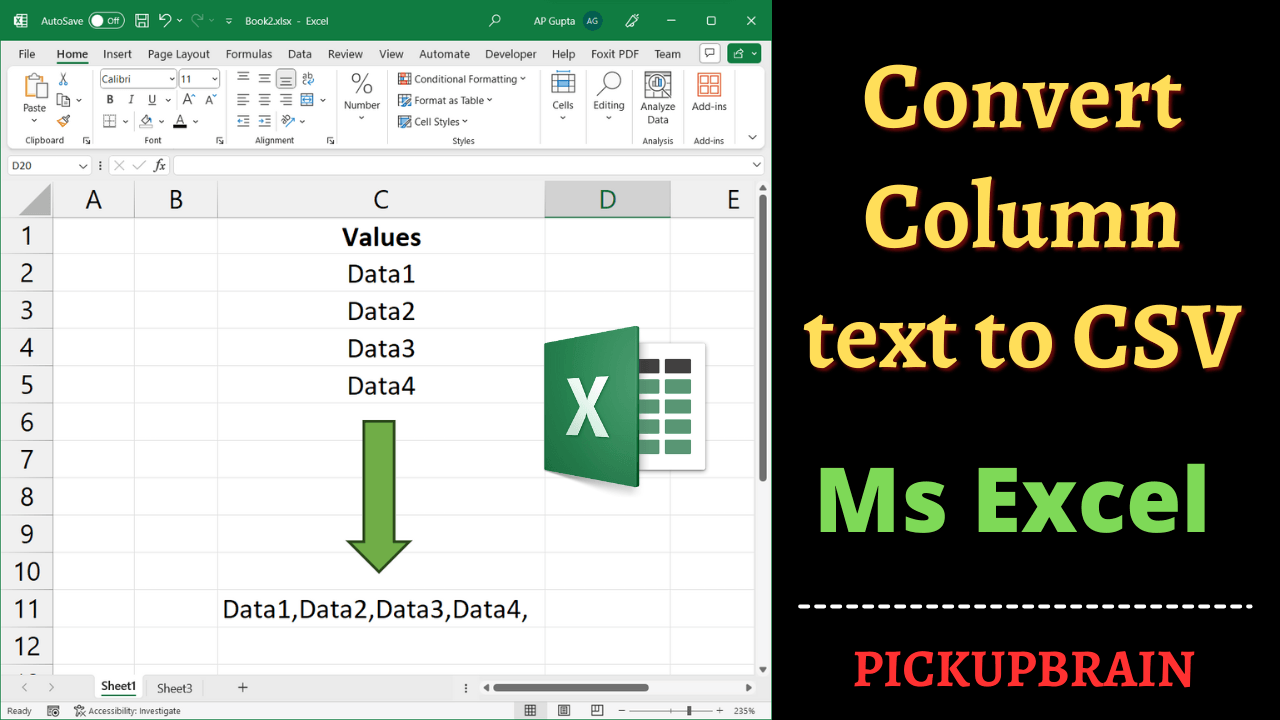
With a vast array of features, Microsoft Excel, is a go-to tool for many professionals when it comes to managing data. CSV format stores data in plain text, making it easy to move between software. While working in Excel, you might want to change a column into CSV format to work with other apps. Now, let’s dive into the step-by-step process of converting columns into CSV format in Excel. There are two methods to convert columns to CSV.
Problem Definition
Let’s say I have a column with following values.

Now I want to combine items in the above column into one cell separated by a comma follows Data1, Data2, Data3, Data4
Method 1: Using ‘CONCAT’ function (Excel 2016 and above)
The Excel CONCAT function enables you to combine or concatenate items. To transform a range of Excel columns (for instance, A2:A5) into CSV data within a single cell, follow these steps in your desired cell and press Enter.
=CONCAT(A2:A5&”,”)
Replace A2:A5 with your column/row data range and leave other items as it is.
Text inside quotes is used as a separator. You can also add space after comma (,) if you need. In such case the function would be =CONCAT(A2:A5&”, “)
Method 2: Using “TEXTJOIN’ function (Excel 2019 & above)
Ms Excel 2019 and above have included a function TEXTJOIN to join text with different delimiters.
To convert excel column (say A2:A5) into CSV data in one cell type the following in the desired cell and hit enter.
=TEXTJOIN(“, “,TRUE,A2:A5)
First argument: “,” is used as a separator (or delimiter)
Second argument: Use TRUE to Ignore empty cell and FALSE to include empty cell and
Third argument: Range of cell that needs to be joined (in this case it is A2:A5), replace it with desired range
Summary
You can easily combine or join your column or row into CSV in a single cell using CONCAT or TEXTJOIN function of Excel.
Other posts you may like

C P Gupta is a YouTuber and Blogger. He is expert in Microsoft Word, Excel and PowerPoint. His YouTube channel @pickupbrain is very popular and has crossed 9.9 Million Views.
