Introduction
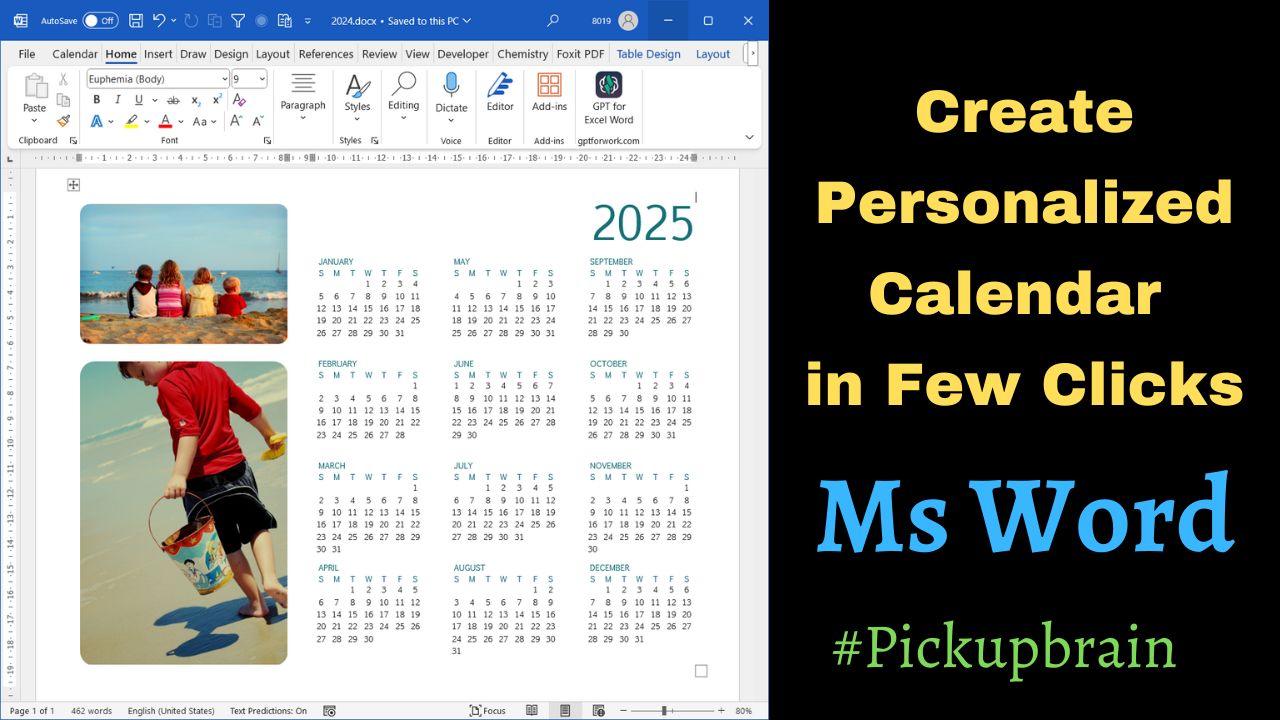
Ever found yourself needing a custom calendar, personalized for your specific needs, but couldn’t find one that fits just right? Microsoft Word, a tool many of us use daily, can be a powerful ally in crafting your own yearly calendars, planners, and more. It’s easier than you might think, and the best part is you don’t need any advanced design skills! In this blog, we’ll guide you through the process of creating your own yearly calendar in Word, adding your own personal touches, and even give you tips on making planners and other useful documents. Let’s dive in and turn that blank page into a tool that keeps you organized and inspired all year round!
Step-by-Step Guide to Creating a Yearly Calendar in Word
1. Open Microsoft Word
Start by opening a blank new Microsoft Word document.
2. Choose a Template
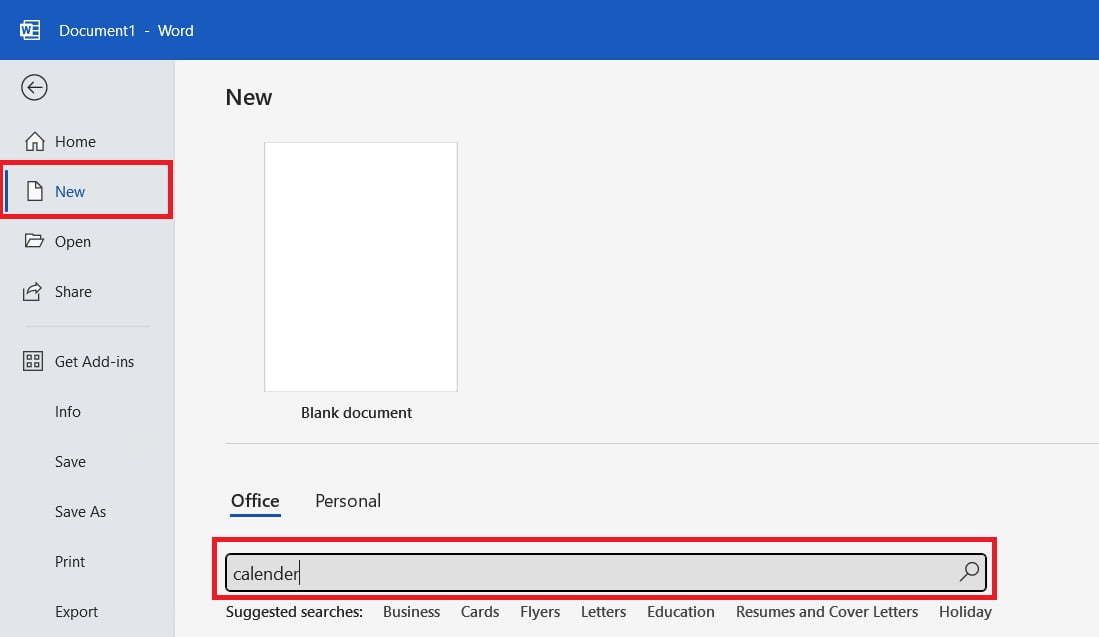
- Go to File > New.
- In the search bar, type “calendar” and press Enter.

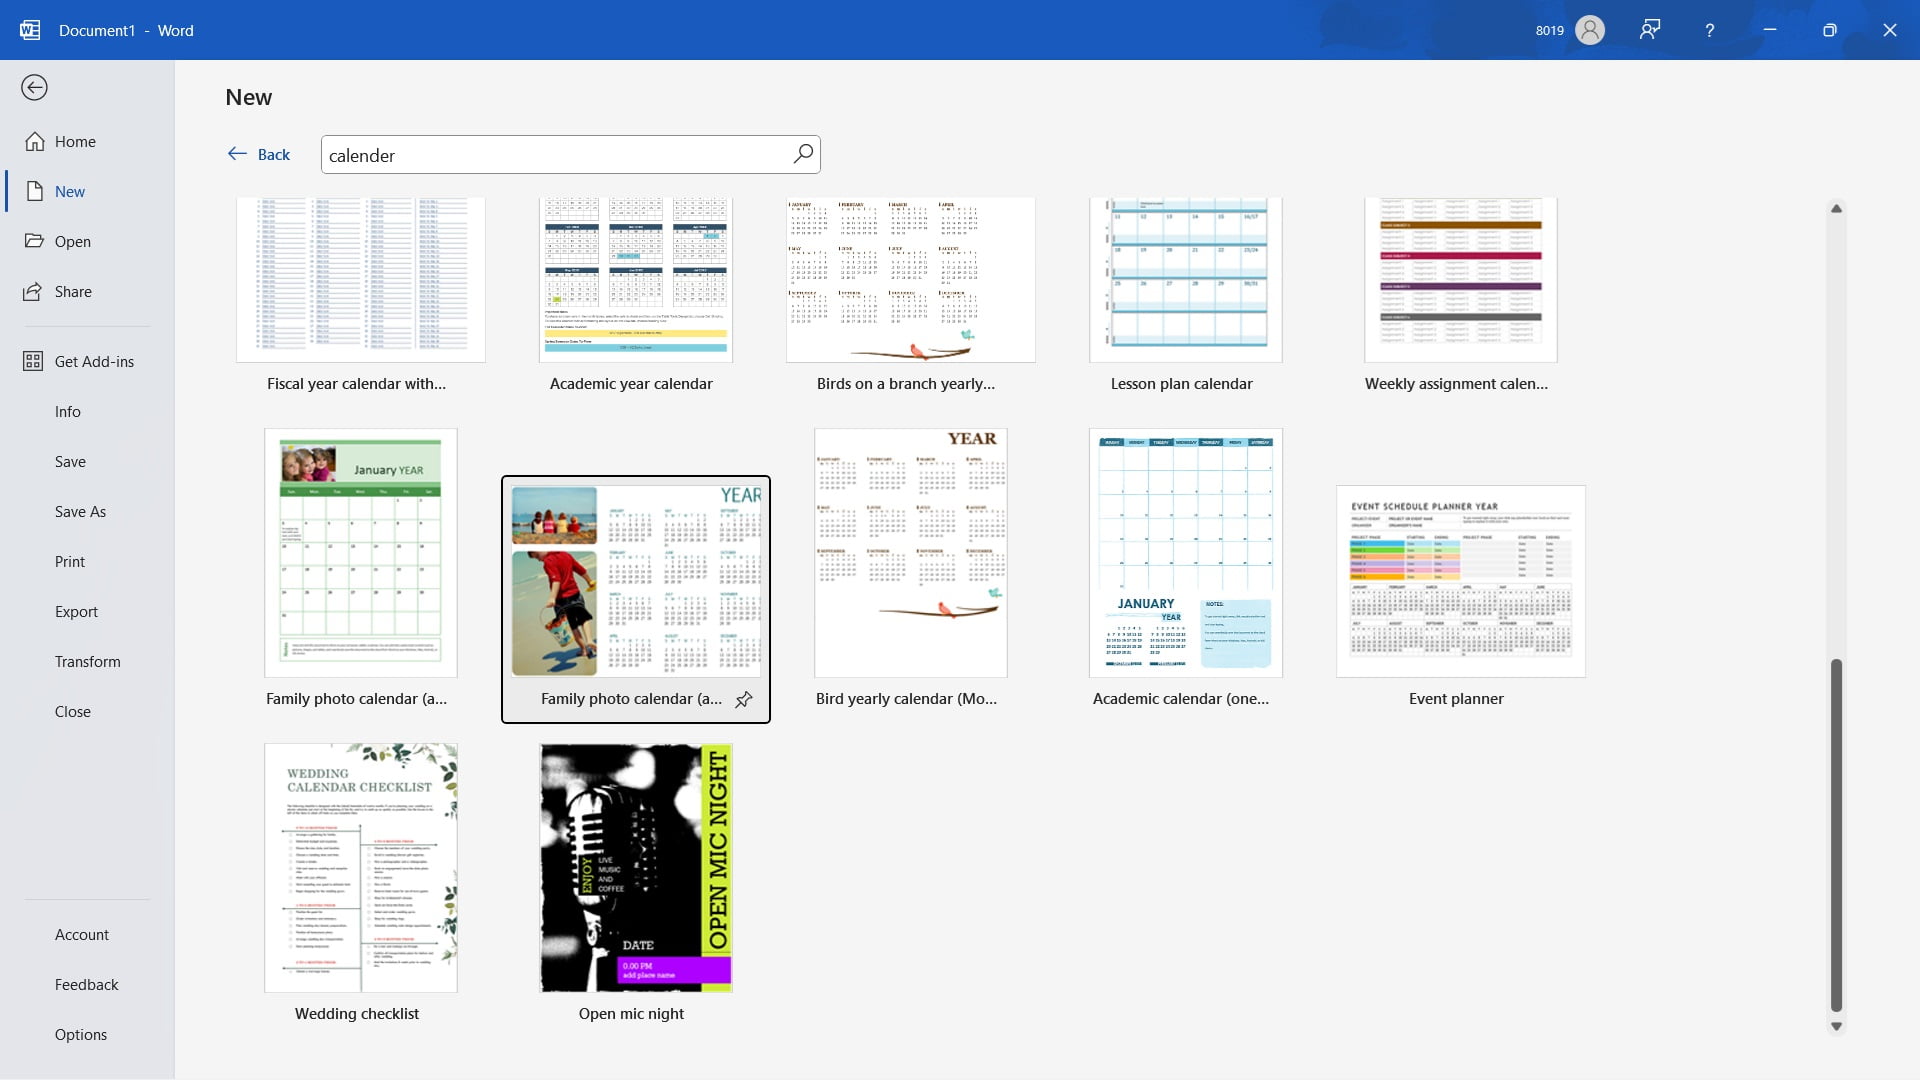
- Browse through the available templates. Select one that closely matches your preference.

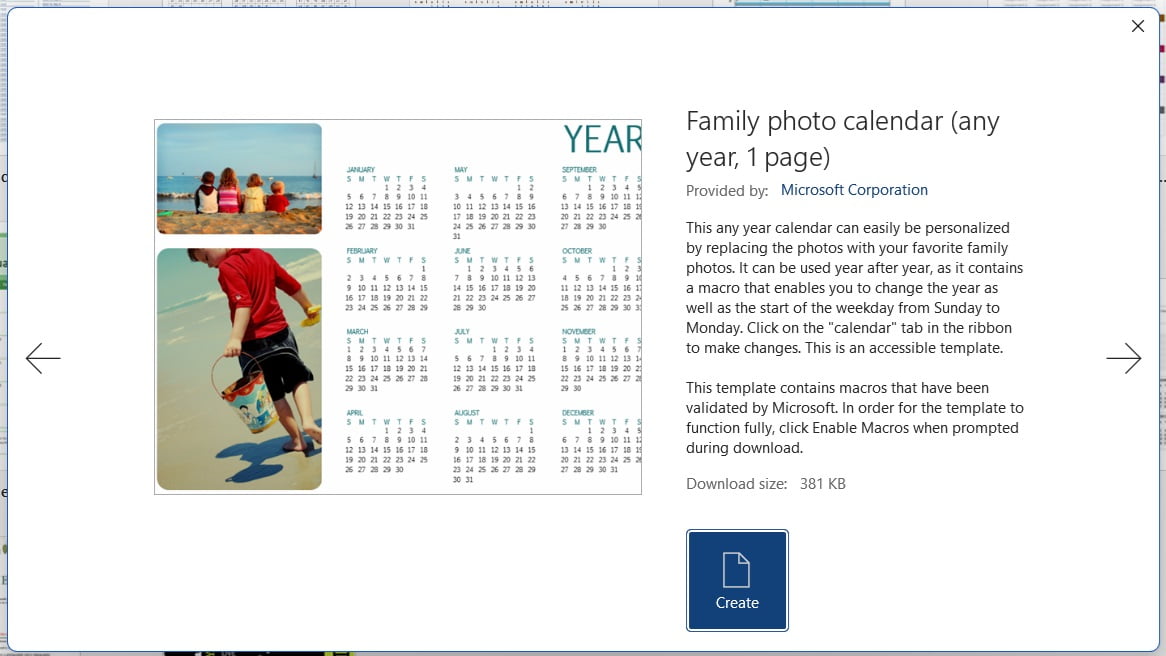
- Click Create to open the template.

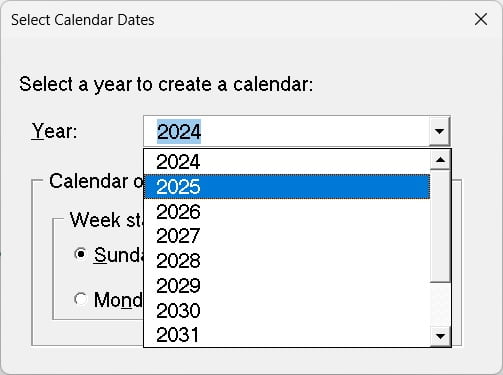
- Ms Word will show you option for year. Select Year from the dropdown menu. You can also select day from which your week starts as “Sunday” or “Monday”.

3. Customize Your Calendar
Now comes the fun part—customizing your calendar!
Adjust the Layout
- Use the Table Tools to adjust the size of the cells if needed.
- Add rows or columns for additional notes or events.
Insert Images and Graphics
- Select the image and Go to Insert > Pictures to add images from your computer.
- Use Insert > Icons for fun, built-in graphics that can represent different types of events or reminders.
4. Enhance with Additional Features
Hyperlinks
- Add hyperlinks on selected date for online resources, important documents, or even your website www.pickupbrain.com for easy access.
- Right-click on the text or image, select Link, and paste the URL.
5. Save and Print
- Save your calendar in a format that works best for you. File > Save As and choose PDF if you plan to print it.
- For printing, go to File > Print. Ensure your calendar fits well on the page by adjusting the settings under Page Setup.
Creating More with Word
Planners and Schedules
Word isn’t just for calendars. You can create weekly planners, to-do lists, and more:
- Use Table layouts for organizing days of the week.
- Incorporate checkboxes from Developer Tools for interactive lists.
- Add motivational quotes or images to keep you inspired.
Event Flyers and Invitations
- Start with a Blank Document.
- Use Text Boxes and Shapes to create dynamic layouts.
- Insert images and format text with WordArt for a professional look.
Project Management Tools
- Create Gantt charts or timelines using SmartArt graphics.
- Keep track of tasks and deadlines with customized tables and charts.
Useful Resources
For more in-depth tutorials on using Microsoft Word to its full potential, check out PickupBrain. Additionally, you can find a variety of templates and tips on Microsoft’s official Office Support site.
Conclusion
Creating your own yearly calendar in Microsoft Word is not only practical but also a fun way to stay organized and creative. With these simple steps, you can design a calendar that perfectly suits your needs and preferences. Don’t stop at calendars—explore the many other possibilities Word offers to enhance your productivity and creativity. Happy designing!
By using these tips, you’ll be able to craft personalized documents that help you stay on top of your schedule and projects. For more tips and detailed guides, visit PickupBrain, your go-to resource for mastering Microsoft Office tools and more!

C P Gupta is a YouTuber and Blogger. He is expert in Microsoft Word, Excel and PowerPoint. His YouTube channel @pickupbrain is very popular and has crossed 9.9 Million Views.
