You can make a checklist in Word using different ways. One of the simplest way is to write each item of a checklist on a separate line and add bullets with check/unchecked symbol. This method works great if the targeted checklist needs to be filled by hand.
However, if you want a checklist which is filled/updated digitally, the method discussed above is difficult as checked/un-checked sign needs to be manually inserted. In such case, Microsoft Word provides a second way to create digital checklist, where the state of each checkbox can be changed just by clicking it.
The following section describes the way to get clickable checkbox in Word.
Insert clickable checkbox
Step 1: Place the cursor to the location where you want a clickable checkbox.
Step 2: Navigate to Developer tab in Word. It is not active by default. To make it visible, follow:
- On the File tab, go to Options → Customize Ribbon.
- Under Customize the Ribbon choose Main Tabs from drop-down, check the box against Developer.
This enables the developer tab in Word and you should see it in Ms Word Ribbons as Developer.
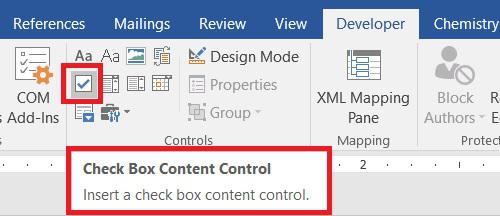
Step 3: On the Developer tab, in Controls group, click ☑ icon (Check Box Content Control) to insert ☐, which is a clickable checkbox.

Clickable checkbox
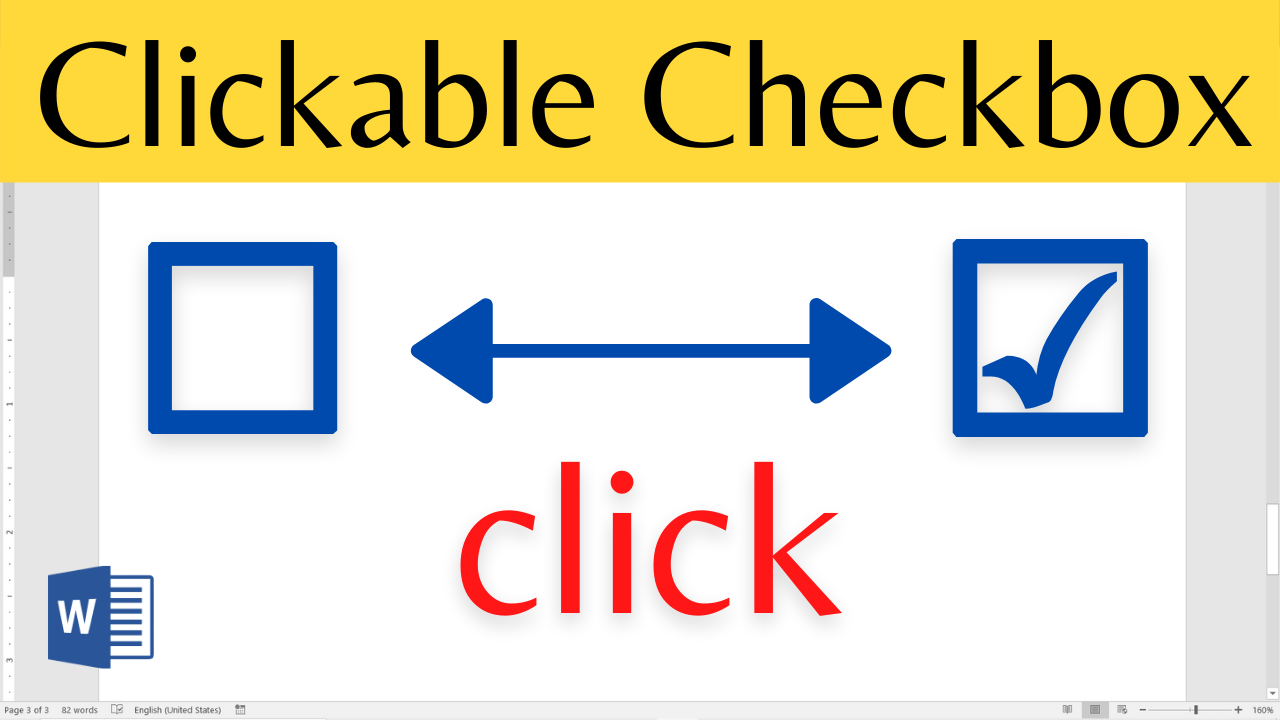
By default, clickable checkbox appears like an empty box (☐). It denotes un-checked state of the box which changes to ☑, a checked state on click.
You can change appearance of checked and unchecked state as per our need.
Changing Checked and Uncheck Appearance
Steps to change the default appearance of checked (☑) and unchecked (☐) state of clickable checkbox:
- Select the clickable checkbox.
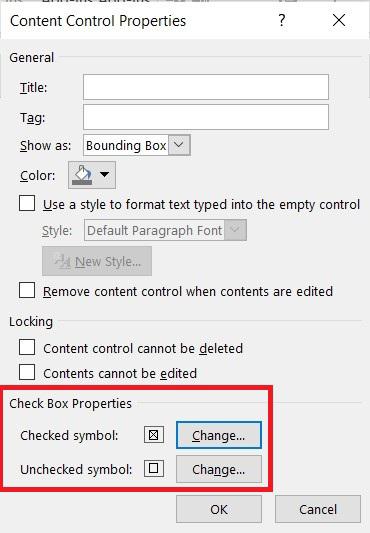
- On Developer tab, in Controls group click, Properties to open Content Control Properties.
- In the Check Box Properties section, click Change against Checked Symbol &/or Unchecked symbol to change its appearance.
- Select the appropriate symbol for checked or unchecked state and click ok to assign it.


C P Gupta is a YouTuber and Blogger. He is expert in Microsoft Word, Excel and PowerPoint. His YouTube channel @pickupbrain is very popular and has crossed 9.9 Million Views.
