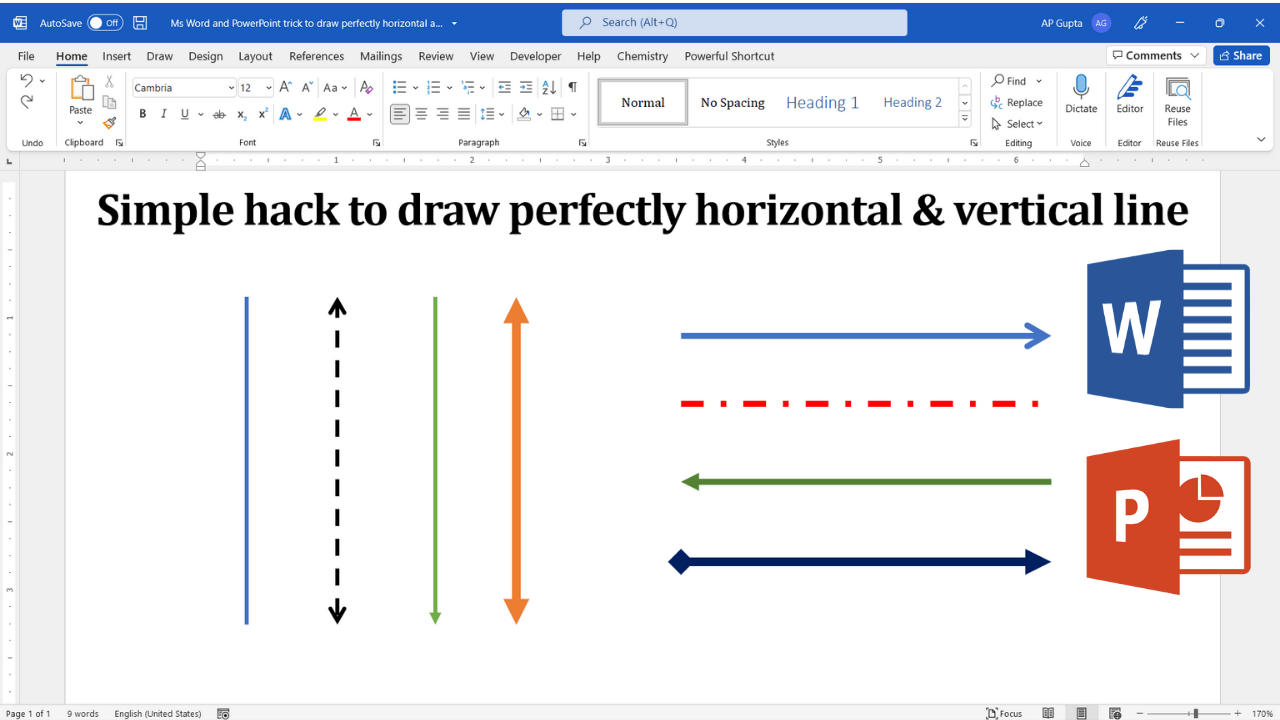
Quick answer: In desktop Microsoft Word or PowerPoint, choose Insert → Shapes → Line, then hold Shift while dragging to constrain the line to standard angles, including perfectly horizontal and vertical. This is more reliable than trying to draw a straight line freehand. The steps below work with the desktop shape tools; web and mobile interfaces may differ.
Draw a Straight Line in Word or PowerPoint: Step by Step
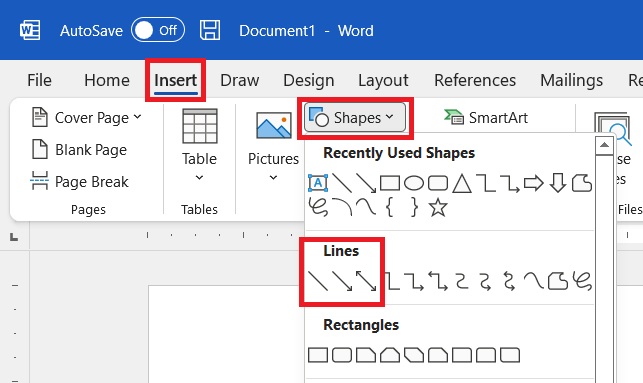
Step 1: Open Insert → Shapes and select the straight Line shape. Your pointer changes to a crosshair in the drawing area.
Step 2: Move the pointer to the desired starting point. In Word, the line is a drawing object, so its placement and text wrapping may affect where it appears.
Step 3: Press and hold the left mouse button, then drag toward the desired endpoint.
Step 4: While dragging, hold Shift to constrain the line to common angles such as 0° (horizontal), 45°, and 90° (vertical). Release the mouse button to finish, then release Shift.
Horizontal vs. Vertical: Which Direction Should You Drag?
For a horizontal line, drag left or right while holding Shift; for a vertical line, drag up or down while holding Shift. To make a precise divider, start near the desired edge, drag to the endpoint, and release the mouse before releasing Shift. You can adjust the line length afterward using its endpoint handles. A shape line is different from a Word paragraph border: it is a movable drawing object, not a text-formatting rule.
Video Demonstration
Make an Existing Line Exactly Horizontal or Vertical
Select the line, then use the Shape Format controls to adjust its position and size. Where available, open the shape’s size or layout settings and set the rotation to 0° for a horizontal line or 90° for a vertical line. The visible direction also depends on the line’s endpoints, so inspect the result. For quick redrawing, holding Shift is usually easier.
Change Line Color, Thickness, or Style
Click the line and open Shape Format → Shape Outline. Choose a color, increase the Weight to make it thicker, or choose a dash style. In Word, use the layout options beside the selected shape if you need to control how text wraps around it.
Troubleshooting Straight Lines
- The line is slightly tilted: Hold Shift while dragging, not only after you finish drawing.
- The line moves when text changes in Word: Check the line’s text-wrapping and anchor settings; inline and floating shapes behave differently.
- Need a horizontal divider across a paragraph? Word’s paragraph borders may be a better choice than a floating shape.
- Using a touch device: Keyboard modifier behavior may not be available in every mobile or web editor; use desktop Office when exact line angles are important.
Frequently Asked Questions
Why does my line move when I edit text in Word?
A line shape may be anchored to a paragraph or positioned relative to the page. Select it and inspect Layout Options or the anchor settings. For a divider that should follow a paragraph, consider a bottom paragraph border instead of a floating line.
Can I draw a straight line without a mouse?
Use Insert → Shapes → Line with a touchpad or pointer device. After selecting the shape, desktop Office may also offer keyboard-based sizing and position controls, depending on version. For a horizontal text divider in Word, a paragraph border is often more accessible and easier to maintain.
How do I keep a line visible when printing?
Use a contrasting line color and adequate thickness, and keep the shape inside the printable page area. Check File → Print preview before printing; thin, pale lines can disappear on some printers.
Related Posts

C P Gupta is a YouTuber and Blogger. He is expert in Microsoft Word, Excel and PowerPoint. His YouTube channel @pickupbrain is very popular and has crossed 9.9 Million Views.